

DIY ADVENT CANDLE

It’s almost December! And although I hate the cold (since I moved to Hungary) I love love love Christmas and Christmas traditions. One that I actually only recently got into was having an advent wreath with candles. For those who don’t know, Advent is technically a religious tradition, whereby between the four Sunday’s before Christmas, we light one of four candles each Sunday. The candles stand for: hope, faith, joy and peace. I use this as more of a “countdown” for Christmas, but if you are religious, you can read more about its meaning. With that said, here is a DIY guide to making your own advent candles!

This DIY activity is luckily inexpensive, easy to buy, and you can be really creative! My candles are an example of how you can do it, but feel free to use whatever decorations you have on hand.
What you need:
· A wood board, plate, wreath, or anything that you can glue the candles onto
· 4 candles (preferably 3 of the same color, and the fourth a different color)
· Super glue or other glue that is really strong
· Decorations (this can be anything from green leaves, tinsel, garlands, etc.)
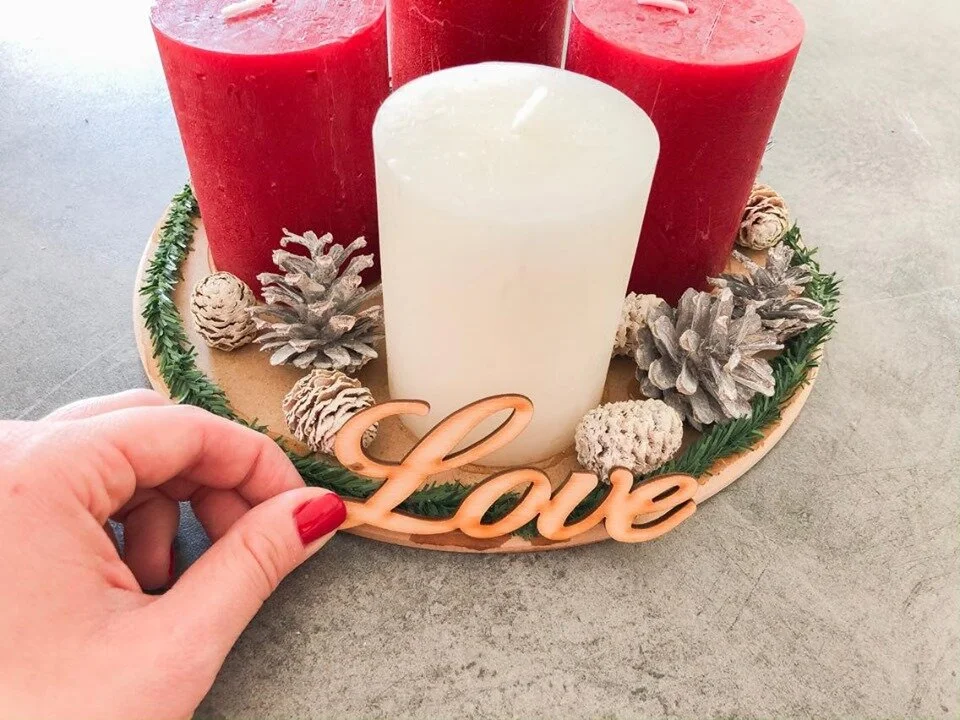
· Optional: I added a wooden “love” plate, which for me really brings it all together.


So first unwrap everything, and without any glue, put your advent candles together. See how it looks, move your decorations around and see what you like. There really aren’t any rules here – just whatever you find beautiful. I took some greens and put it around the wooden plate, the candles were centered, and I just put the other decorations around the middle areas so everything was even and covered. Once you like the style, take everything off. Place your wooden plate onto paper towels, or onto a newspaper, or anything that you are okay with getting glue on. Then take your glue, and start applying glue in small sections around the top edge of the wooden plate, and then press the garland into the glue immediately, repeat until your reach the full circle of the board.


I added two heavier cups to hold down the glue because the kind I had took longer to dry. Once you are done and it is all dry, move onto the decorations. I put all the decorations on dry again to make sure they are perfectly placed, and then glued each one onto the wooden board.


Once all of your decorations are glued and semi-dry, take your candles, and put a spoonful of glue onto the bottom of the candle and place onto the board. Do this until all candles are glued on. Then take your wooden “love” sign, and glue the bottom, back side and place it into the front of the wooden plate. You may need to hold this in place for a while due to the angle. Mine took about 20 minutes to fully dry, so set it aside and let it dry completely. I recommend being very careful and not moving these around too much. You can place your beautiful wreath on your dining room table, on the bar area, or on a coffee table.
First Sunday to light the Candle of Hope is December 1st – Happy Advent!


